A great pie crust is a small miracle. Getting it just right can turn even a simple filling into a perfect dessert or savory dish. Flaky but tender, sturdy but not tough—it’s one of those kitchen basics that everyone should know. In this complete guide, you’ll find step-by-step methods, exact measurements, and tips for classic butter pie crusts, double crusts, and fruit pie options (yes, canned fruit gets a place at the table). If you’ve ever wanted your pie to look—and taste—like it came from a bakery, this is where to start. Ready to learn how to make pie crust?
PrintHow to Make Pie Crust: The Complete Guide
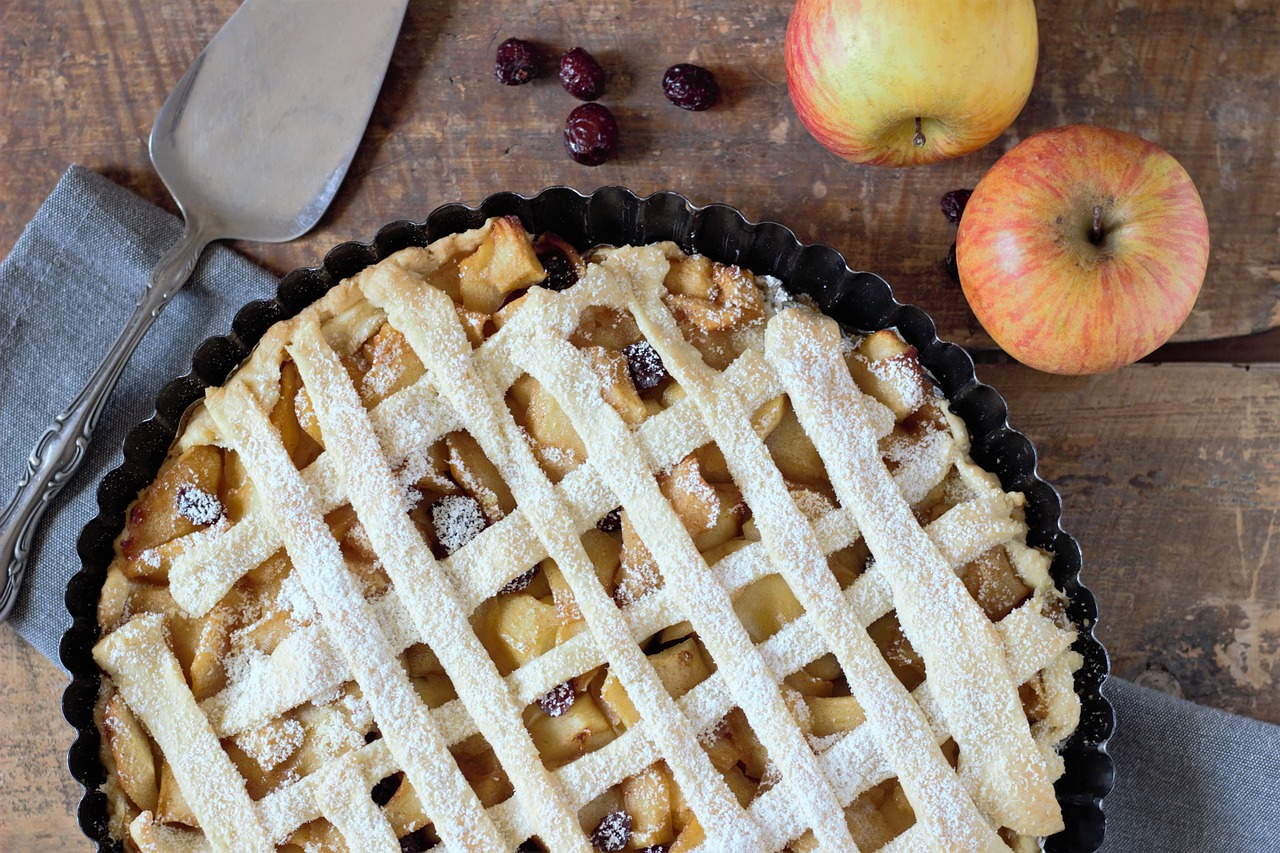
A flawless pie crust feels a bit like striking gold, turning apples or even canned cherries into showstoppers with just the right mix of airy flakes and rich, buttery flavor. With a pinch of patience and a handful of details—quick, cold butter, the perfect scatter of flour, and a fearless hand at the rolling pin—home bakers can give their pies that glossy, window-shop appeal found in a Parisian patisserie, no reservations or reservations required.
Ingredients
Basic Butter Crust for a double 9-inch pie crust:
2 1/2 cups All-purpose flour, spooned and leveled
1/2 teaspoon Salt
1 tablespoon, Sugar (optional)
1 cup, Very cold unsalted butter, cut into ½-inch cubes
6 – 8 tablespoons ice water, or more as needed
Instructions
Combine the first portion of flour and butter: Combine 1 ½ cups of flour, salt, and sugar in a medium bowl and whisk until mixed. Add cold butter cubes, coat them in flour, then use a pastry blender to cut the butter in until the mix is coarse and looks like breadcrumbs, about 1 to 2 minutes.
Add the remaining flour: Sprinkle the last cup of flour over the mixture, then keep blending for about 20 seconds until the flour spreads out. The dough should feel crumbly, and you’ll still see some small pieces of butter.
Add water and bring the dough together: Transfer the mixture to a medium bowl and sprinkle 4 tablespoons of ice water over it. Press the dough together using a rubber spatula; if it holds when pinched, it’s ready, but if not, add more water in small amounts until the dough forms and sticks together.
Form and chill the dough: Take the dough out of the bowl and shape it into a ball on a clean surface. Cut the ball in half, press each piece into a flat disk, wrap tightly in plastic, and chill for at least an hour (or up to three days); you can freeze it for up to three months and thaw overnight in the fridge before use.
Rolling Out Pie Dough
Prepare the dough: Take one dough disk from the fridge and let it warm up for 5 minutes. Dust your counter, dough, and rolling pin with flour so nothing sticks during rolling.
Roll the dough: Roll the dough with a steady hand, turning it every few passes, until you form a 12-inch circle. Lift the dough as you work, dusting a little flour underneath so it doesn’t stick, and check the size by placing the pie dish upside down on the dough—all edges should extend about an inch beyond the rim.
Transfer to the pie dish: To move the dough, roll it loosely around your rolling pin, then unroll it over the pie dish. Press the dough in place, covering the bottom and sides without pulling or stretching.
Crimp the edges: Fold extra dough underneath itself to make a thicker edge about 1/4-inch wide that sits on the rim of the dish. To crimp, hold your pointer finger just inside the dough and press the outside with your other hand’s knuckles to set the shape.
For a double-crust pie, don’t crimp the bottom crust. Instead, roll out your second dough disk, fill the pie, then place the top crust over the filling. Trim the edges of both crusts and then crimp them together as described above.
Chill the crust: Slide the unbaked pie crust into the refrigerator and chill for at least 30 minutes.
How to Blind Bake Pie Crust for Single Crust Pies (Quiches & Cream Pies)
Preheat the oven: While the unbaked pie crust is chilling, preheat your oven to 375°F (190°C).
Bake the crust (phase 1): Pierce the bottom of the chilled crust all over with a fork. Crumple up a sheet of parchment paper in your hands, then uncrumple it and use it to line the crust. Fill with pie weights, dried rice, or dried beans. Bake for 15 minutes. This is where you would stop for a partially baked crust, used in recipes that will bake the pie with a filling later on.
Bake the crust (phase 2): For a fully baked pie crust, carefully remove the crust from the oven and lift out the parchment paper and weights. Return the crust to the oven and continue to bake until it is light golden brown, about 15 to 20 minutes more. Set aside to cool completely before filling.
Optional shiny, golden crust: For a shiny, golden finish, prepare an egg wash by whisking one egg yolk and 1 tablespoon of cream together. Lightly brush the bottom and sides of the crust, then bake for another 5 to 8 minutes, or until the crust is dry and shiny. Allow the crust to cool completely before filling.
How to Make a Double Crust Pie
Note: Oven temperature and bake time will vary based on your specific pie recipe. Always refer to the recipe you are following.
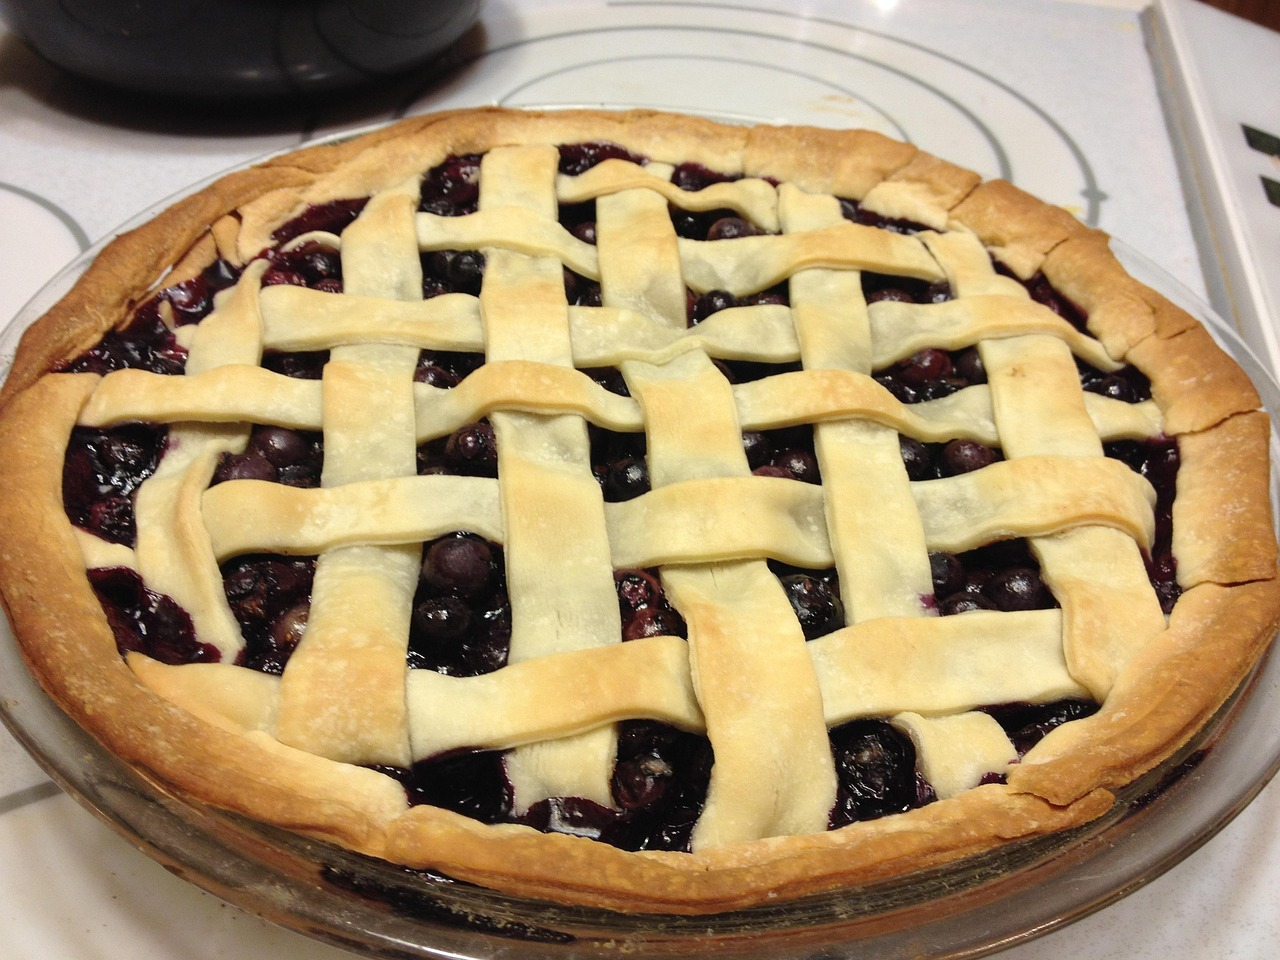
Add the top crust: Roll the bottom crust out and place it into your pie dish as directed above. Then, roll out the second dough disk and place it over the filled pie. Use a knife or kitchen scissors to trim the dough so that it overhangs the edge of the dish by about 3/4-inch.
Seal and crimp the edges
Fold the edges of the top crust underneath the edges of the bottom crust, pressing to seal them together and create a thicker border that rests on the lip of the dish. Crimp the edges as desired. Refrigerate the pie for at least 30 minutes before baking.
Finish and bake: Just before baking, make an egg wash by whisking an egg yolk and 1 tablespoon of cream together. Use a pastry brush to coat the top crust lightly, then sprinkle with about 1 tablespoon of sugar. Cut 3 to 4 slits in the top of the pie to vent steam. Bake as directed by your specific recipe.
Understanding Pie Crust Basics
Pie crust is simple, but each ingredient matters. Flour forms the structure; fat gives flakiness and flavor; water brings it all together; salt heightens taste. What sounds basic can become tricky as you chase the dream of a crisp yet melting bite.
A crust can be flaky (think apple pie) or tender (a classic quiche). Flaky crusts have distinct layers that crackle when you cut into them. Tender crusts are more delicate, sometimes almost crumbly, and less about big flakes. The key is how much the flour’s gluten develops when water is added and mixed. Overmixing—like kneading bread—gives you a tough crust. Work lightly, and you create a home for all those pockets of delicious air and butter.
Pie crust has never been my strongest area in the kitchen. One of the best sites I’ve used is Inspired Taste. They include a step-by-step guide for flaky pie crust which is really good.
Flour Types and Their Impact
- All-purpose flour: The standard choice. Its moderate protein content gives you a blend of sturdiness and tenderness. It works well for most pie recipes.
- Pastry flour: Lower in protein, which makes crusts more delicate. You’ll get a softer, more tender bite.
- Bread flour: Avoid for pies. Too much protein creates tough, chewy crusts.
A good rule: If you want to avoid complicated juggling of flour types, stick with all-purpose for reliable results. If you’re curious or want to experiment, pastry flour will kick up the tenderness.
How Fat Creates Flakiness
Fat is where the magic happens. Cold pieces of fat trapped in dough melt as the crust bakes, releasing steam that forms flaky layers. The size of the fat pieces affects the final result—larger chunks lead to more distinct flakes.
Here’s the short list:
- Butter: Rich, flavorful, and gives a crisp texture. It’s the favorite for many bakers and lends a golden hue. It’s what you’ll use in the step-by-step recipe below.
- Shortening: Extra tender, almost crumbly, and holds shape well. However, it lacks the depth of flavor that butter brings.
- Oil: Fast and easy (no solid pieces to cut in), but less rich and flavorful.
Mix and match if you like, but a classic all-butter crust gives unbeatable flavor and flakiness.
Tools and Equipment Checklist
A bit of prep makes pie crust much easier and less messy.
- Rolling pin
- Pastry brush
- Plastic wrap
- 9-inch pie pan
- Kitchen scale (for accuracy)
- Measuring cups and spoons
- Fork or pastry cutter

Tips for Perfect Crust and Common Troubleshooting
Preventing Shrinkage and Cracking
- Let the dough rest after rolling, either in the fridge or freezer—this helps relax gluten and reduces shrinking.
- Never stretch the dough to fit the pie pan. If it tears, patch with dough scraps and press gently.
- Use parchment paper or foil filled with pie weights for blind baking. This keeps the crust flat.
- When edges look dry, brush lightly with a little cold water before baking.
- The dough should be cold to the touch but flexible. If it snaps or cracks, let it warm for a few minutes on the counter.
A buttery sheen and faint gold color on the edge of the rolled dough is a good cue it’s ready for the oven.
Adjusting for Altitude and Humidity
- In high humidity, hold back a tablespoon or two of water at first, then add only as needed.
- For high-altitude baking, you may need a bit more water and less fat. Start with 5 tablespoons water and add extra flour (a teaspoon at a time) if the dough feels sticky.
Canned Fruit and Fresh Fruit: Options for Filling
Fruit pies shine with flaky crust, no matter the season or pantry. If berries or apples aren’t available, canned fruit is a solid backup. Drain well before using and toss with a bit of flour or cornstarch to help thicken the juices. Fresh fruit gives the brightest flavor, but a good crust makes even canned filling taste special.
Share photos of your pie triumphs (or disasters—we’ve all been there) and let’s keep improving together. Want even more crust inspiration? Happy baking!

How to Make Classic Boston Cream Pie at Home
