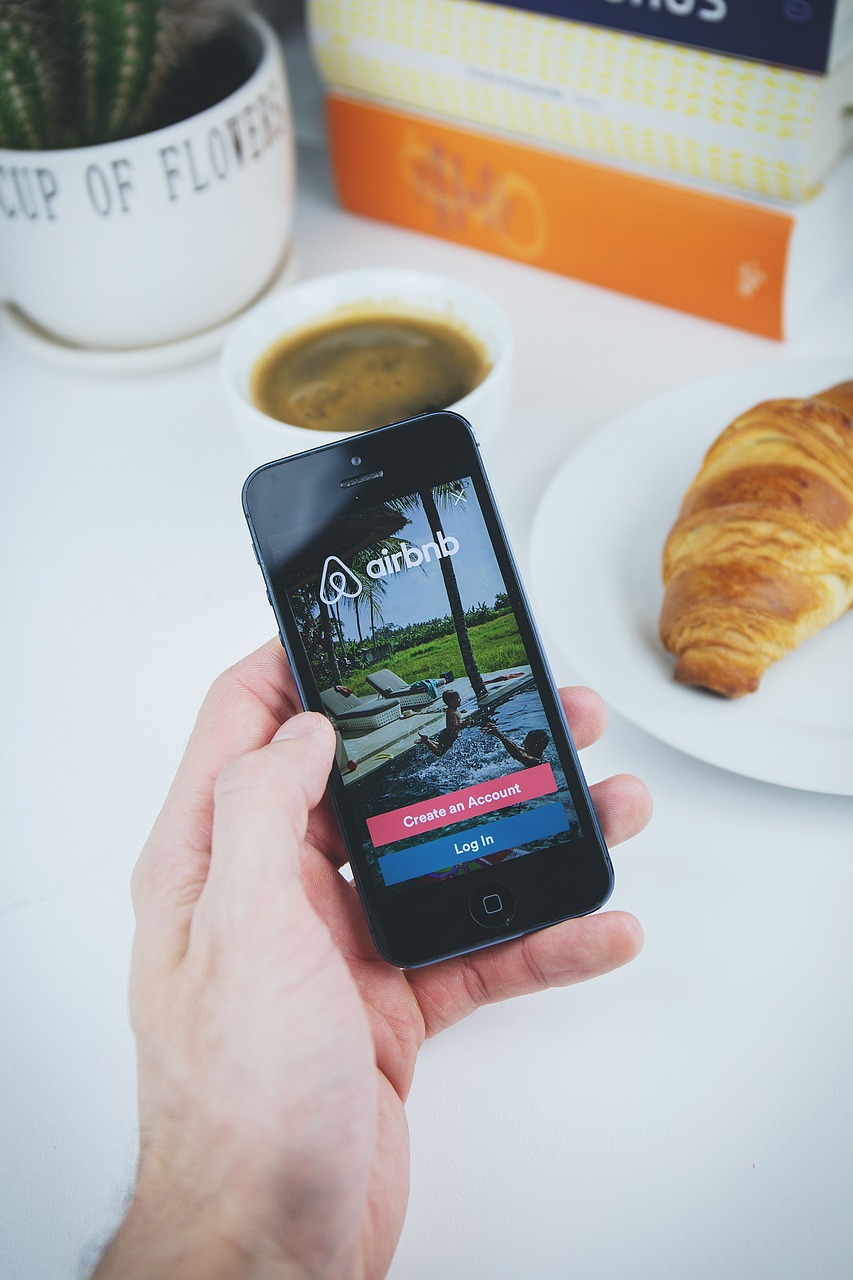
Your spare room or basement might be worth more than a weekend side job as your first Airbnb listing. For many families, Airbnb hosting is a simple way to bring in extra income without leaving the house or adding another shift.
At its core, hosting on Airbnb (one of the major online travel agencies) means you, as a host, let guests stay in part of your home or a separate space, for short stays, in exchange for money. You control when it is open, what you charge, and who you accept.
This guide walks you from idea to first guest, with a focus on low-cost setup, safety, and avoiding beginner mistakes. The Frugal Ones angle is simple: earn more, protect your home, and skip fancy decor that eats your profit.
- Is Airbnb Hosting Right for You and Your Family Budget?
- Preparing Your Property for Airbnb Hosting on a Budget
- Capture Great Photos And Write An Airbnb Property Listing That Guests Trust
- Airbnb Listing Optimization Checklist
- Create Your Airbnb Listing, Set Pricing, And Go Live
- Prepare For Your First Guests And Manage Bookings Like A Pro
- Conclusion
Is Airbnb Hosting Right for You and Your Family Budget?
Before you buy new towels or paint a room, make sure hosting actually fits your life and money goals. A few honest questions now can save a lot of stress later.
Pros and cons of becoming an Airbnb host
Here is a quick summary of what most families like, and what they do not.
Pros
- Extra income: Use space you already have to bring in money each month.
- Flexible schedule: Open your calendar when it works around school, work, and trips.
- Short stays: You are not locked into a long-term tenant.
- Control: You set rules, prices, and who you accept.
Cons
- Time commitment: Cleaning, laundry, and messages take real time.
- Wear and tear: Furniture, floors, and linens age faster.
- People issues: Most guests are kind, but you will still handle questions and the rare problem.
- Local Laws: Some cities limit short-term rentals or add taxes.
If the pros line up with your goals and the cons feel manageable, you are ready to set up your first Airbnb listing.
What kind of space works best for a first Airbnb listing?
You do not need a fancy guest house to start hosting. Many first Airbnb listings are simple, clean, and modest. Consider your property when choosing the right setup.
Common starter spaces by property type:
- Private Room: Cheapest way to start, good for solo travelers and budget guests.
- Finished basement: Works well if it has a private entrance or bathroom.
- In-law suite or garage apartment: More privacy, usually higher nightly rate.
- Entire Home/Apartment: Great option for families who visit relatives often or take long trips.
Think about:
- Privacy: Will guests share kitchen or bathroom with your family, or have their own space?
- Kids and pets: Noise, allergies, and safety matter; mention them clearly in your Airbnb listing.
- Guest expectations: Guests expect a budget private room to be simple, while an entire home should feel like a full apartment.
The best space is the one you can keep safe, clean, and ready without stressing your family.
How much time and money do you really need to start?
You do not have to spend thousands to launch your first Airbnb listing.
Time needed
- Setup: A few days to a couple of weeks to declutter, clean, and take photos.
- Per stay: One to three hours for cleaning, laundry, and reset, depending on size.
Money needed
Most frugal families start with basic upgrades like:
- Cleaning supplies
- A key lockbox or simple smart lock
- Extra set of sheets and towels
- A few low-cost items, like lamps or blackout curtains
Many of these can come from what you already own. Start small, then use your first few payouts to upgrade slowly, instead of buying everything at once on a credit card.

Preparing Your Property for Airbnb Hosting on a Budget
The goal is not a designer look. The goal is a space that feels safe, clean, and comfortable at a fair price.
Research local regulations, taxes, and HOA rules before you start
Before you list, make sure you are allowed to host.
Simple steps:
- Check city or county website: Search for “short-term rental” or “Airbnb rules” plus your city name.
- Call or email your local office: Ask about permits, zoning, and occupancy limits.
- Review your lease if you rent: Some leases ban subletting or short-term stays. Get written approval from your landlord if needed.
- Look at HOA or condo rules: Many have clear rules about rentals and guest parking.
- Read about taxes in your area: Some places add a lodging or hotel tax. Airbnb may collect some of this for you, but not always.
Keep the focus simple. You just want to know, “Am I allowed to host, and are there any forms or fees I need to handle?”
Set up your space for comfort, safety, and basic privacy
Think of your space like a budget hotel room with a personal touch. It does not have to be fancy, but it should feel safe and calm.
Safety basics
- Working locks on bedroom and main doors
- Smoke detectors and carbon monoxide detectors
- Fire extinguisher in the kitchen or hallway
- Clear exits and hallways
- Safe stairs with railings
- No loose rugs or cords guests can trip on
Comfort basics
- Good mattress or supportive mattress topper
- Clean, unstained sheets and pillowcases
- Extra pillows and blankets
- Blackout curtains or blinds if street lights are bright
- Nightstand and reading light
- Space for luggage and a few hanging clothes
- Small desk or table if you have room
Most of these can come from discount stores, sales, or rearranging what you already have. A fresh, clean look beats trendy decor every time.
Frugal furnishing: what you must have vs what is nice to have
Use your money where guests feel it most. To keep it simple, think in two buckets.
Must haves
- Bed with clean bedding
- Towels and washcloths
- Basic toiletries (soap, shampoo, toilet paper)
- Reliable Wi-Fi
- Good lighting in each room
- Trash can with bags
- Hangers or simple hooks
Nice to haves
- Coffee or tea station with a cheap coffee maker
- Extra phone chargers
- Simple local guide with food and grocery tips
- A few snacks, like granola bars or instant oatmeal
- Small fan or white noise machine in busy areas
To keep costs down, try:
- Buying secondhand furniture where it is safe (bed frame, dressers, tables)
- Shopping clearance or outlet stores for linens
- Reusing simple decor from other rooms
Each item should either add comfort or help you charge a bit more per night. If it does not, skip it.
Create simple house rules that protect your home and budget
Clear house rules save money, time, and headaches. They tell guests how to treat your space and keep your family life steady.
Common rules to cover:
- Smoking: Inside, outside, or not at all
- Pets: Allowed or not, and any extra cleaning fee
- Quiet hours: Helpful when kids have bedtimes or neighbors are close
- Extra guests: If visitors are allowed and if they must be on the booking
- Parties and events: Most frugal families ban these to protect their home
- Kitchen use: Can guests cook, and do they wash dishes after?
- Laundry: Guest access or family only
- Shared spaces: What areas are off limits
Keep rules short, fair, and written in plain language. They should match local laws and Airbnb’s policies, not fight them.
Capture Great Photos And Write An Airbnb Property Listing That Guests Trust
Good photos and a clear description help you stand out without spending more on decor. Guests want to see what they will get, not a surprise.
How to Take High-Quality Photos with a Phone (No Pro Camera Needed)
Photos make your Airbnb listing shine. You do not need a fancy camera. Your phone is enough if you plan your shots to capture great photos.
Key tips:
- Clean and declutter the space first
- Open curtains and blinds, shoot during the day
- Turn on all lights to avoid dark corners
- Use landscape mode so photos fill the screen
- Hold the phone steady or lean on a wall
- Avoid heavy filters or odd angles
When you upload photos, cover every key area:
- Bedroom and bed
- Bathroom, especially shower and sink
- Entrance and how guests get inside
- Kitchen or kitchenette if they can use it
- Parking spot or driveway
- Any outdoor space they can enjoy
Add a few closeups of thoughtful touches, like the coffee station or a welcome note.
Write a Clear, Honest Title and Description That Set the Right Expectations
Your title should tell guests what your place is and why they should care for the Airbnb listing.
Useful pieces to include:
- Type of space: “Private room”, “Basement suite”, “Entire family home”
- Location: “Near downtown”, “Near hospital”, “Quiet neighborhood”
- Audience: “Family-friendly”, “Budget stay”, “Perfect for nurses”
Example: “Budget-Friendly Private Room Near Downtown, Free Parking & Wi-Fi”
In the description, keep it easy to search and scan:
- Start with a short summary of the space and who it fits best
- List key features, like number of beds, bathroom type, and kitchen access
- Share what makes it special, such as walkable location or kid-friendly backyard
- Be honest about tradeoffs: stairs, small bathroom, street noise, or shared spaces; check local regulations for your property
Honesty in your Airbnb listing now protects your reviews later. Guests forgive small flaws when they knew about them before booking.
List the Amenities Guests Search For and Highlight Budget-Friendly Perks
When you fill out the Airbnb listing form, check only the amenities you can provide every time. Focus on what guests search for.
To meet quality standards, cover safety basics first.
Common musts (amenities):
- Wi-Fi
- Free parking, if available
- Kitchen or kitchenette access
- Washer and dryer, if guests can use them
- Heating and air conditioning, where needed
- Family items like a pack-and-play or high chair, if you already own them
Budget-friendly extras (amenities):
- Free coffee and tea
- Basic breakfast items, like oatmeal packets
- Desk or table for remote work
- Board games or kids’ books
Highlight these amenities in your description so budget-minded guests see the value fast.
Airbnb Listing Optimization Checklist
AspectAction ItemsPhotosHigh-quality shots of all key areas; upload photos strategicallyTitle & DescriptionInclude location, audience; make description scannableAmenitiesList must-haves guests search for; highlight perksProperty PrepDeclutter, light well; ensure compliance with local regulations
Create Your Airbnb Listing, Set Pricing, And Go Live
Once your space is ready, it is time to build your Airbnb Listing inside Airbnb and turn it on.
Create an Account and verify your identity as a Host
Guests feel safer when Hosts look real and responsive.
Simple steps:
- Create an Account with your email or phone number.
- Add a clear, friendly profile photo.
- Write a short bio, such as “Frugal family of four who loves hosting travelers.”
- Complete ID verification by following Airbnb’s prompts.
A complete profile builds trust, which matters even more when you have zero reviews.
Fill out your Airbnb Listing details step by step
Airbnb walks you through a form. Here is what each part means in simple terms:
- Address: Used for maps and directions, hidden until a booking is confirmed.
- Listing type: Entire place, Private Room, or shared room. Choose what matches your space.
- Requirements: Max number of people who can sleep comfortably and safely.
- Beds and bathrooms: Be accurate so guests know if they need to share.
- Amenities: Check only what you truly provide.
- House rules: Add the rules you wrote earlier.
- Calendar: Block off days you never want bookings, like holidays or family events, to manage your Availability.
Take your time here. Clear details reduce questions and protect you if problems come up later.
Set competitive Pricing for your Airbnb Listing without undercutting yourself
Your Pricing should fit your local market and your money goals.
To research:
- Search Airbnb for places in your Location with similar size and features.
- Compare nightly rates, cleaning fees, and minimum stays.
- Note which ones have many reviews and which sit empty.
Smart Pricing for new hosts:
- Start slightly lower than similar listings for your first 3 to 5 bookings.
- Raise rates once you have a few good Reviews.
- Add a cleaning Service Fee that truly covers your time and supplies.
Do not set a very low cleaning fee just to look cheap. Your time has value, especially for busy families who need this side income to be worth the effort.
Choose booking settings that protect new Hosts
Booking settings control how and when people can reserve your place, including options for Monthly Stays, Flexible Dates, and Split Stays.
Key choices:
- Instant Book: Guests can book without asking first. Good for experienced hosts, but some new hosts prefer more control.
- Request to Book: You review each request before accepting. This can feel safer at the beginning.
- Check-in and check-out times: Choose times that work with school, work, and cleaning.
- Advance notice: Set how many hours or days you need before a new booking.
- Maximum stay: Longer stays mean fewer cleanings but more wear. Shorter stays mean more turns but often higher nightly rates.
- Prep time: Add buffer days between bookings if you need them to manage Availability.
For advanced Hosts managing multiple properties or calendars, a Channel Manager can help sync everything seamlessly.
These settings help you protect your time, family routine, and energy.
Prepare For Your First Guests And Manage Bookings Like A Pro
Once bookings start coming in, simple systems keep your stress low and improve the guest experience.
Build a simple cleaning and reset routine you can stick with
A repeatable routine saves time, especially when life is busy.
After each stay:
- Strip and wash all used linens and towels.
- Wipe all surfaces, including tables, counters, and nightstands.
- Clean the bathroom: toilet, sink, shower, and mirror.
- Clean the kitchen area: dishes, counters, and microwave.
- Empty trash and check the fridge for leftovers.
- Restock supplies like toilet paper, soap, coffee, and trash bags.
- Look for damage or missing items and note anything unusual.
To save money, buy cleaning products in bulk, use reusable cloths, and keep a printed checklist so you never forget a step.
Create an easy check in and check out process for guests
Guests love simple, clear instructions.
Check-in options:
- Lockbox: Cheap and reliable, good if you are not home.
- Smart lock: Costs more but very handy for families with changing schedules.
- In-person handoff: Adds a personal touch, but ties you to a time.
Send a message before arrival with:
- Address and parking details
- How to get the key or code
- Wi-Fi name and password
- Any quirks, like tricky gates or light switches
As bookings pick up, this process ensures smooth arrivals. For checkout, keep it short. Example: place used towels in the tub, wash any dirty dishes, turn off lights, and lock the door.
Communicate with guests and set kind but firm boundaries
Good communication leads to good reviews and fewer problems.
Simple message plan:
- Before arrival: “Thanks for booking, here are check-in details and house rules as guests arrive at their destination.”
- After arrival: Short note asking if they found everything they need.
- Before checkout: Friendly reminder of checkout time and steps.
- After checkout: Thank them and say you left a review.
You can repeat key rules in a kind way, such as quiet hours or no extra guests. Be friendly but firm. This protects your home and property and keeps expectations clear.
Handle reviews, problems, and your first few bookings
Reviews on Airbnb go both ways. You review guests, and they review you.
Helpful habits:
- Leave honest, polite reviews for guests. Reliable guests care about their own ratings.
- At the end of a good stay, you can say, “If you have a moment, a review really helps our small family listing.”
When problems come up:
- Stay calm and keep messages inside Airbnb.
- For noise, extra guests, or late checkout, remind them of the rules.
- For small damage, take photos and review Airbnb’s help section on host claims.
- Use each issue as a lesson to adjust rules, prices, or your listing details.
Your first few stays will not be perfect, and that is fine. The goal is steady improvement, not perfection.
Conclusion
Starting your first Airbnb listing as a frugal family does not require a perfect home or a huge budget. It asks for a safe, clean space, honest photos and descriptions, fair prices, and clear rules.
You learned how to decide if hosting fits your life, prepare your space in a low-cost way, create an Airbnb listing guests can trust, set smart pricing and booking settings, and manage cleaning, messages, and reviews with simple systems.
If this feels like a good fit for your money goals, take one small step this week. Walk through your home, pick the accommodation with the most potential, and make a short checklist of what it needs. Then run the numbers on a few nights per month for your Airbnb listing and see how it could help pay down debt or grow your savings.
The Frugal Ones approach is simple: protect your home, spend wisely, and let a well-planned side income work quietly in the background for your family.


